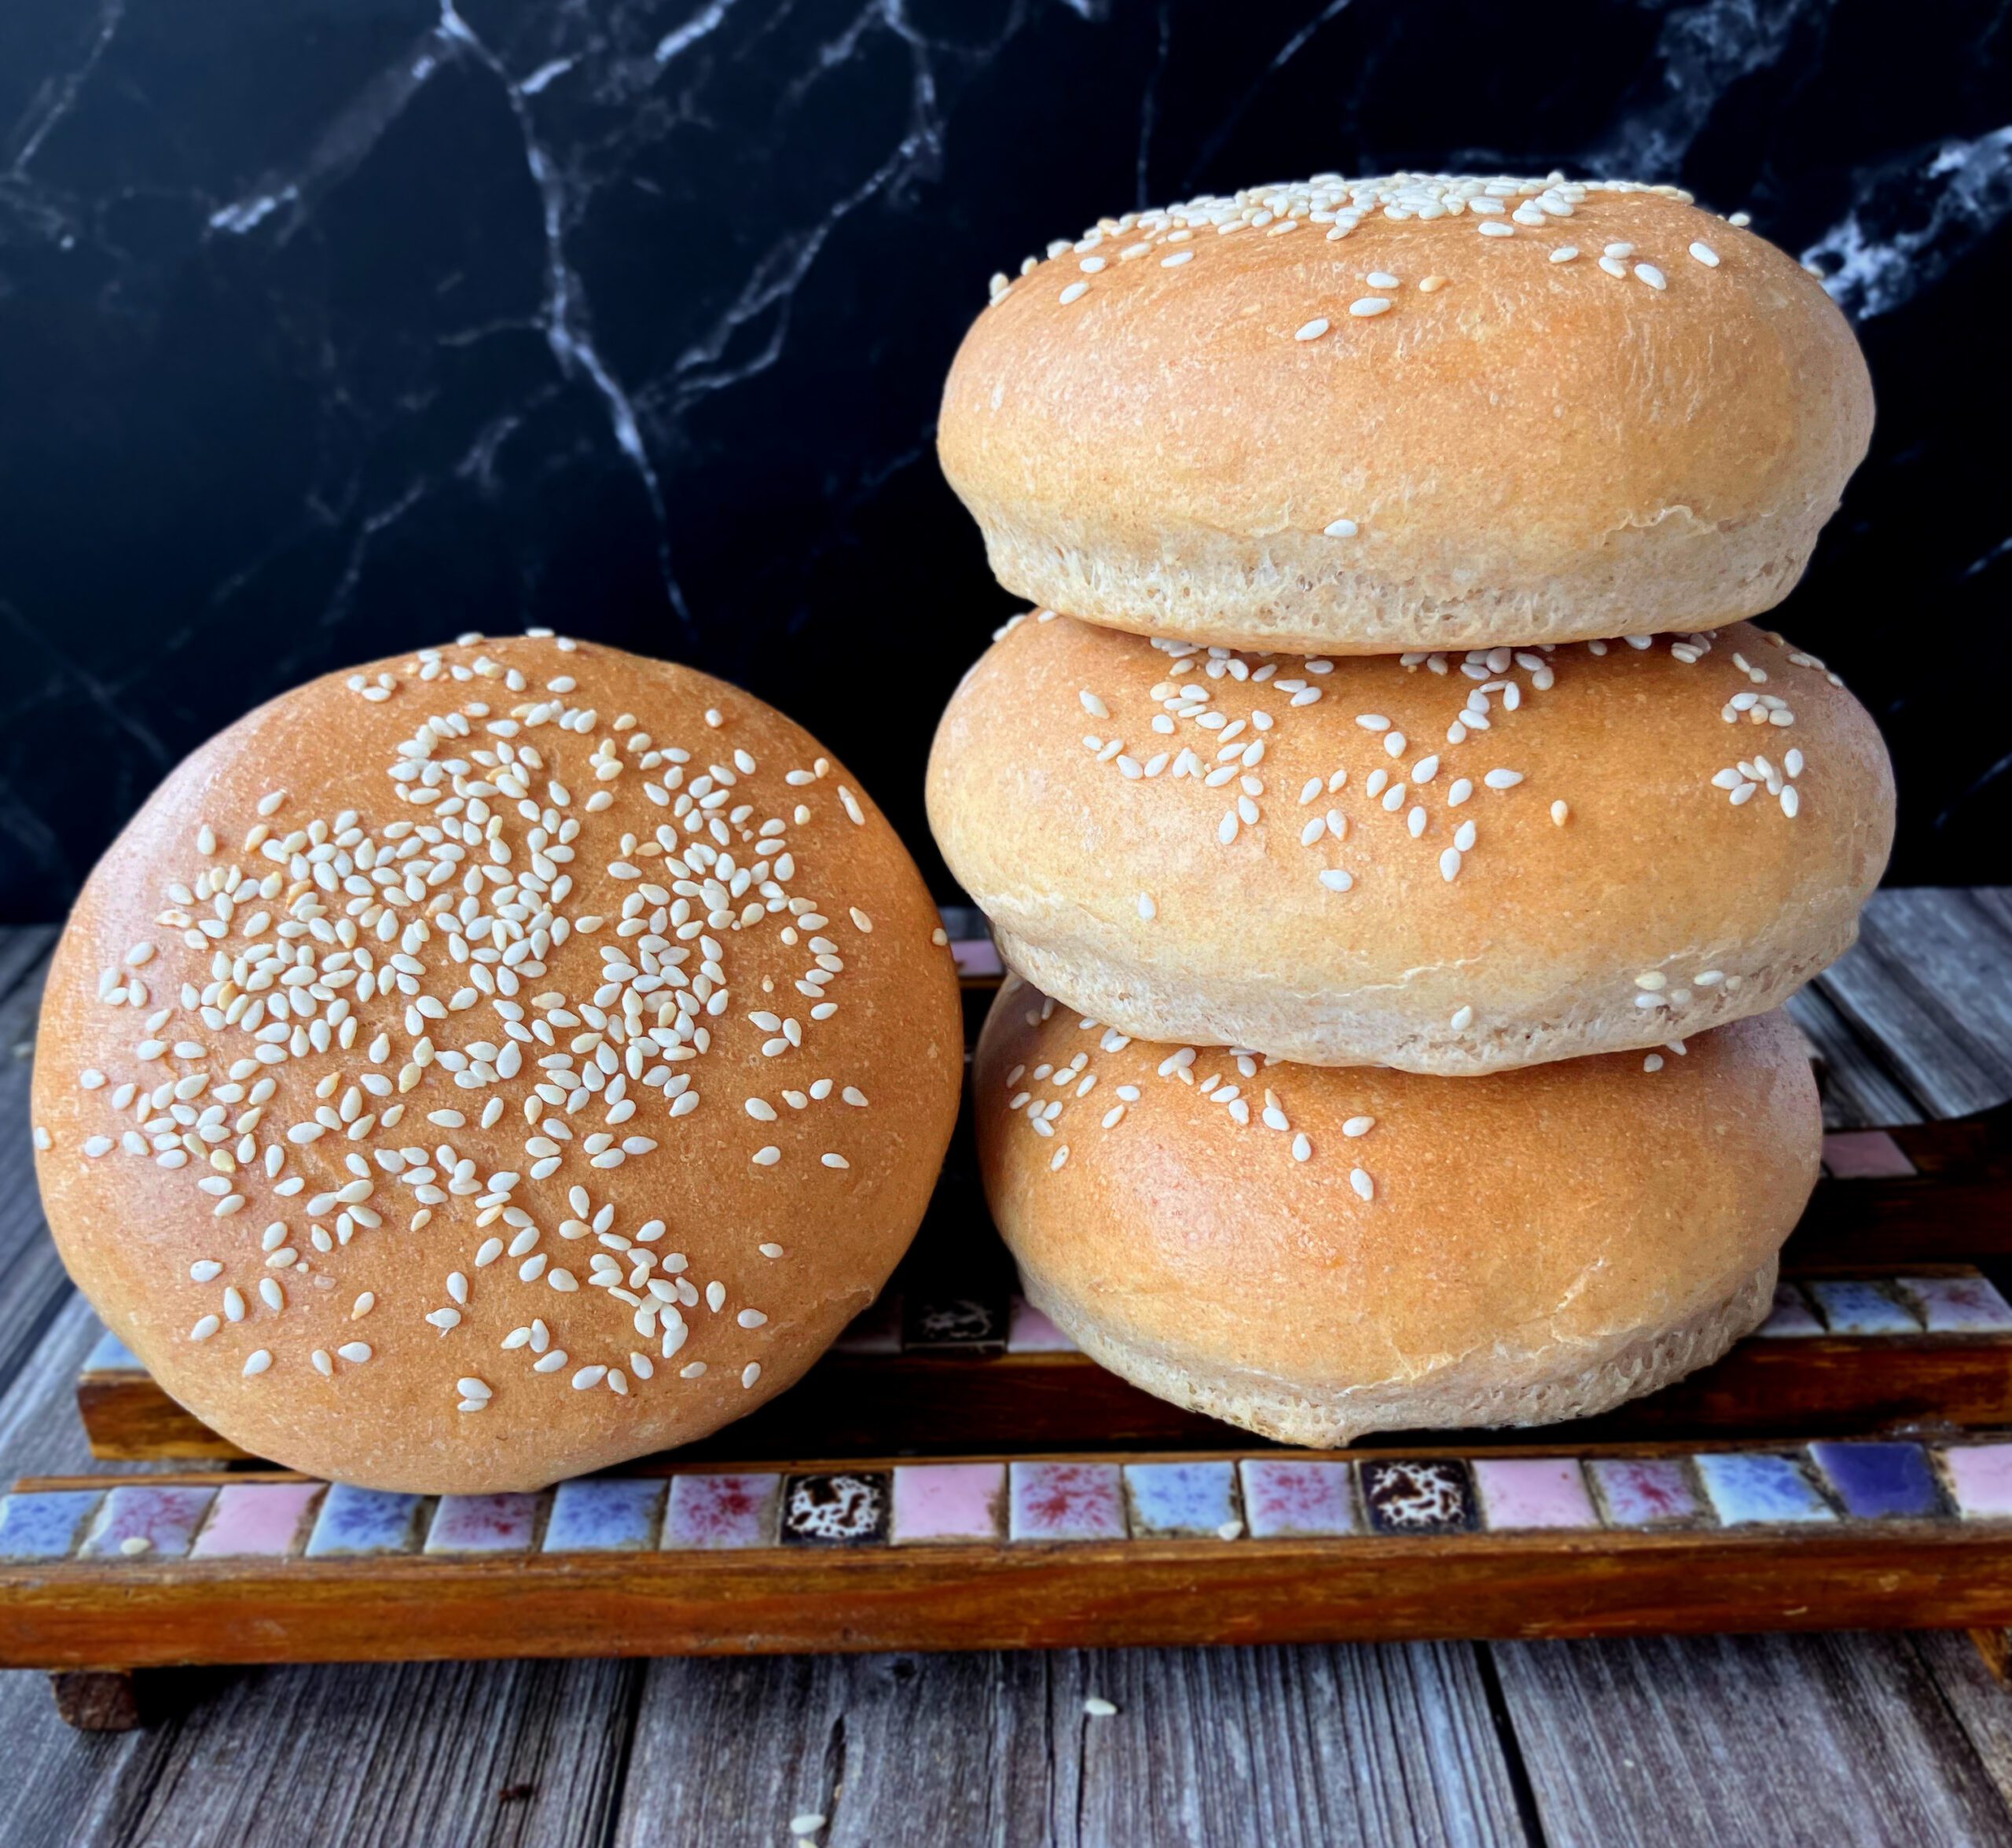
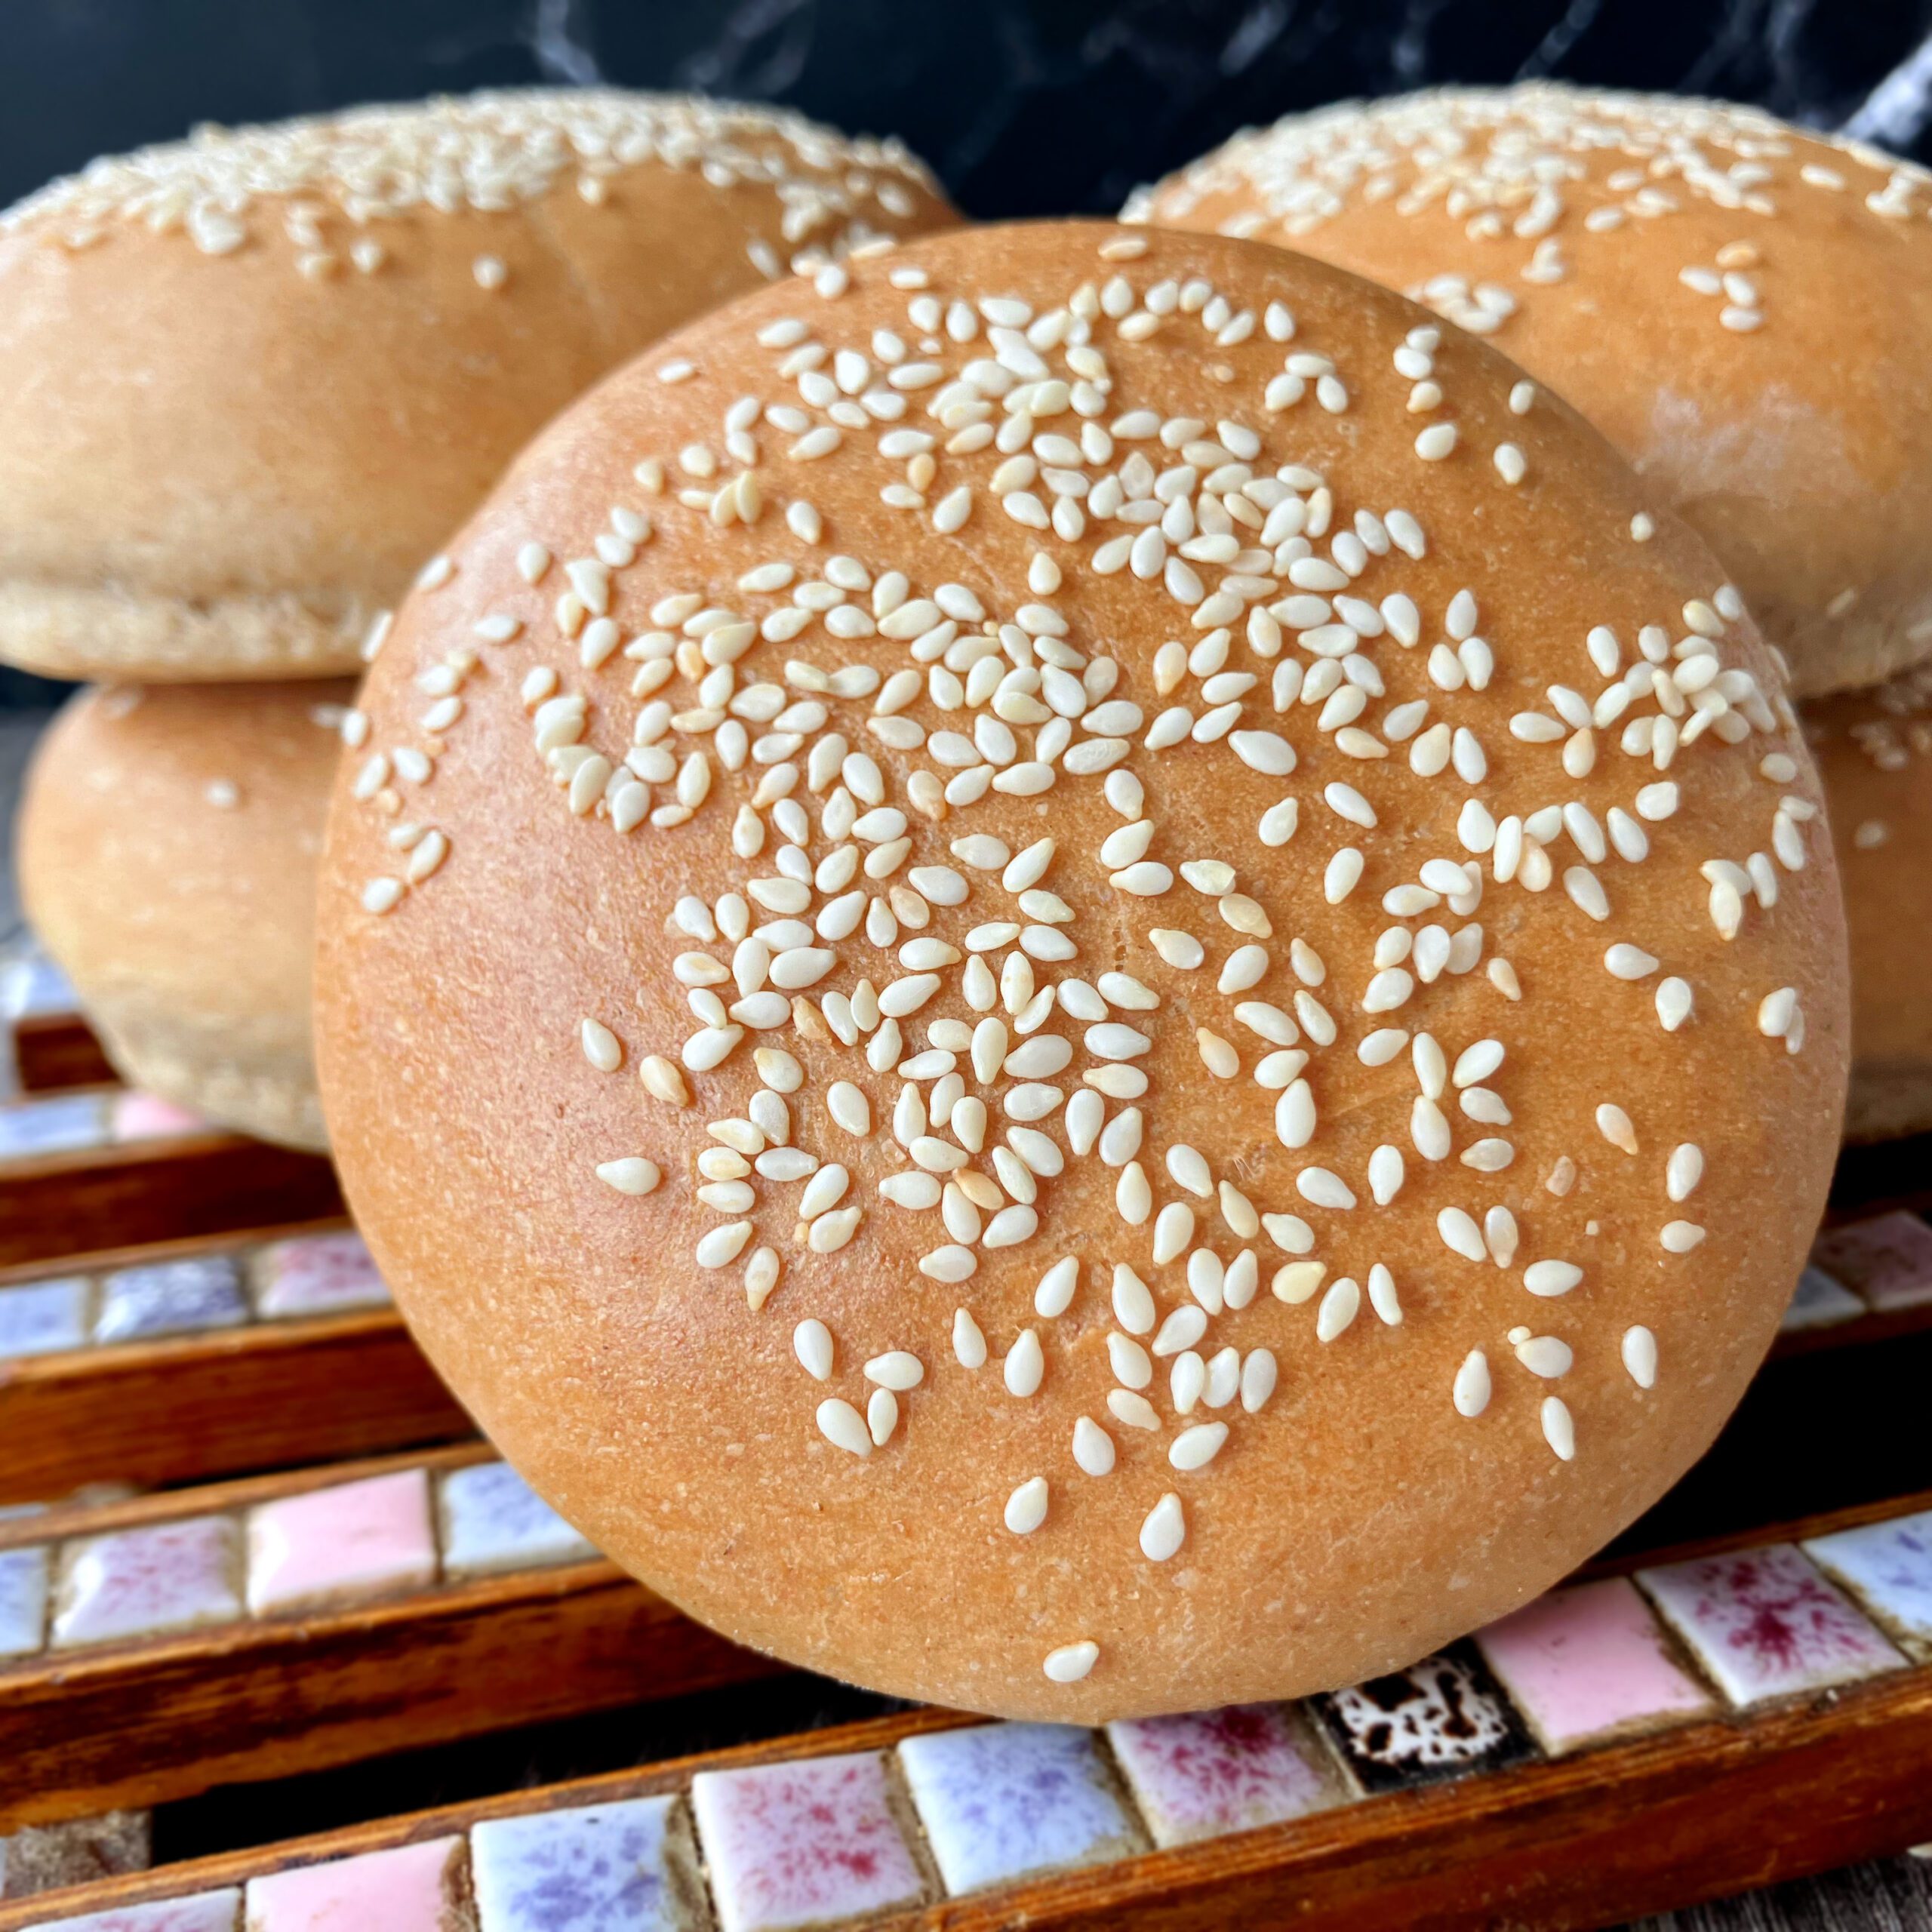
From Scratch: Spelt & Graham Flour Hamburger Buns
Homemade Graham and spelt burger buns bring wholesome, delicious homemade buns straight to your kitchen. Made with a nutritious blend of spelt and Graham flour, along with enriching ingredients such as milk, butter and eggs, these buns offer a lovely balance of soft texture and nutty flavour.
This post also includes helpful tips for working with spelt flour, like kneading, rise times, and using cold ingredients. My advice will help you achieve perfect, tender buns every time. Whether you’re a seasoned baker or trying homemade bread for the first time, this recipe makes it simple to enjoy fresh, additive-free burger buns.
If you are completely new to the wonders of spelt flour, you might find The Beginner’s Guide to Spelt Flour useful.

Why make your own hamburger buns?
There’s something deeply satisfying about making your own spelt burger buns. It turns an ordinary meal into something just a bit more special; homemade from start to finish. No plastic packaging, no mystery ingredients, and no last-minute supermarket runs. Just the quiet pleasure of working with dough, shaping it by hand, and watching the buns rise and turn golden in your own oven.
And it’s not nearly as complicated as you might imagine. If you’ve made any kind of bread before, you’ll find this process pleasantly straightforward. Even if you haven’t, this is a forgiving recipe that doesn’t demand perfection.
Homemade buns are good. Really good. But let’s be honest: they won’t be as soft or fluffy as the ones from the supermarket. That’s not a bad thing. Commercial buns often get their texture from a cocktail of additives and preservatives you probably wouldn’t want in your kitchen. These buns are made with real ingredients and a bit of patience, and that’s part of what makes them taste better.
Whether you’re planning a summer barbecue, a cosy weekend dinner, or just want to elevate your weekday lunch, homemade buns can make all the difference. They don’t have to be perfect. In fact, the slight wonkiness is part of their charm. And I can guarantee that nobody will complain once they’re filled with a juicy burger and all the good stuff.
Graham flour and spelt burger buns
These buns are made with a mixture of spelt and graham flour. It’s a combination that strikes a lovely balance between softness and substance.
Adding graham flour brings a mild, toasty flavour and a wholesome texture that sets them apart from ordinary white buns. It’s not overpowering, just enough to give the crumb a bit more character and the crust a little more bite.
Spelt flour on its own makes a lovely, slightly softer bun. But combining it with graham flour adds depth and a rustic quality that works really well with savoury fillings. The two flours balance each other out. Spelt keeps things tender while graham flour lends a sturdier structure that holds up to juicy burgers without turning soggy.
It’s also a great way to add a bit more fibre and flavour without veering too far from the comfort and familiarity of a classic burger bun. If you’re used to baking with refined flour only, this blend might surprise you. It’s still soft enough to enjoy, but with more substance in every bite.
However, if you prefer an all white flour bun, you can replace the Graham flour with an equal amount of white spelt for a straight 1:1 swap. The result will be slightly lighter and less hearty, but the dough will still behave well and bake up beautifully.
What is Graham flour?
Graham flour is a type of whole wheat flour that includes the bran, germ, and endosperm of the grain, making it more nutritious than refined white flour, which lacks the bran and germ. It’s rich in fibre, B vitamins, and minerals like iron, all of which support better digestion and overall health.
The name “Graham” comes from Sylvester Graham, a 19th-century American nutritionist who advocated for whole grain foods as part of a healthy lifestyle. You might recognise the name from Graham crackers, which were originally made with this flour and intended as a health food. Chowhound asks the question: What makes Graham flour so special and delves further into the flour’s history, if you are interested to learn more.
In the USA, “Graham” is usually pronounced like “gram” (rhyming with “ham”), while in other English-speaking countries it’s often pronounced more like “gray-ham” or “gray-um.” Both are correct, it just depends on where you are.
Using Graham flour in baking adds a slightly nutty flavour and a rustic texture that can enhance breads and buns without overpowering them. It’s a great choice if you want to boost the nutritional value of your baking.
The difference between Graham and wholegrain flours
Graham flour is often described as a coarser type of whole wheat flour, but it traditionally differs in how it’s milled: the bran and germ are ground separately and then mixed back in. This process usually creates a more textured flour than standard wholegrain wholewheat flour. However, the texture can vary quite a bit depending on the mill and region.
For example, the Graham flour I use is surprisingly finely milled; much finer than rye flour and even finer than wholegrain spelt. Its texture is smooth, closer to regular wholewheat flour, rather than the coarse, rustic type people typically expect from Graham flour.
The main thing to keep in mind is that “Graham” refers to wholegrain flour made from the entire wheat kernel, including bran, germ, and endosperm. The fineness or coarseness varies between producers, but nutritionally it remains a wholegrain flour.
Because mine is finely milled, it behaves more like wholewheat flour in baking, producing a smoother dough and a finer crumb. This makes it ideal for recipes where you want the wholesome benefits of whole wheat but prefer a softer, lighter texture instead of a heavy, rustic crumb.
Where can I find Graham flour?
Graham flour is common in the United States and Canada, especially in traditional recipes like Graham crackers and some breads. In other countries, including Sweden, it’s available in larger grocery stores or health food shops but can be harder to find.
If you don’t have access to Graham flour, whole wheat flour is the closest alternative, offering a similar nutty flavour and fibre content. To mimic the traditional coarser texture of Graham flour (as mentioned earlier, this varies depending on the milling process), you can mix whole wheat flour with a small amount of fine wheat bran.
When substituting, remember that because Graham flour can be coarser and absorb liquids differently. You might need to adjust the amount of liquid in your recipe slightly. Since it’s less refined than standard whole wheat flour, your baked goods may turn out denser and more rustic in appearance.
If you want a lighter result, you can replace part of the Graham flour with white spelt or all-purpose flour, though this will reduce both flavour and fibre.
Spelt needs less kneading
Spelt flour usually requires less kneading than regular wheat flour because of its more delicate gluten structure. For this recipe, I used my bread machine and took the dough out after about 10 minutes of kneading; just enough time for the dough to come together smoothly.
If you’re kneading by hand, aim for around 8–10 minutes using a gentle rhythm. Spelt dough tends to be softer and stickier than wheat dough, so try not to add too much extra flour, as this can dry out the dough. A stand mixer is another good option; knead on low to medium speed for 5–6 minutes. Look for a dough that is smooth and stretchy, pulling away from the sides of the bowl but still feeling slightly tacky to the touch.
Keeping kneading time moderate helps maintain the dough’s tender texture and prevents it from becoming tough or overly dense.
When to skip the bulk proofing
One important thing to keep in mind when baking bread made with spelt flour is that it also needs a shorter rise time than regular wheat flour. Spelt dough rises fantastically well, but the downside is that an overly long fermentation can increase the fragility of the gluten, causing it to break down, resulting in a weak structure and a dense or crumbly texture.
With regular flour, the general rule of thumb is to let your dough rise for an hour. However, rather than watching the clock, keep an eye on the dough. When it looks puffy and has nearly doubled in size, it’s ready. Avoid waiting until it starts to collapse.
To protect the sensitive gluten in spelt even further, it is sometimes recommended to skip the first proof altogether. For this recipe, I did just that, moving straight to shaping the buns before letting them rise once. However, with some of my other recipes, I do include a bulk rise, as it can help develop flavour and texture. Whether or not to do a bulk rise depends on the specific dough and the desired result.
It is possible to swap out the spelt flour for all-purpose (plain) flour, but if you do, keep in mind that regular flour generally needs longer proofing times and can handle bulk rises better without losing structure. You may want to adjust the rising times and proofing steps accordingly.
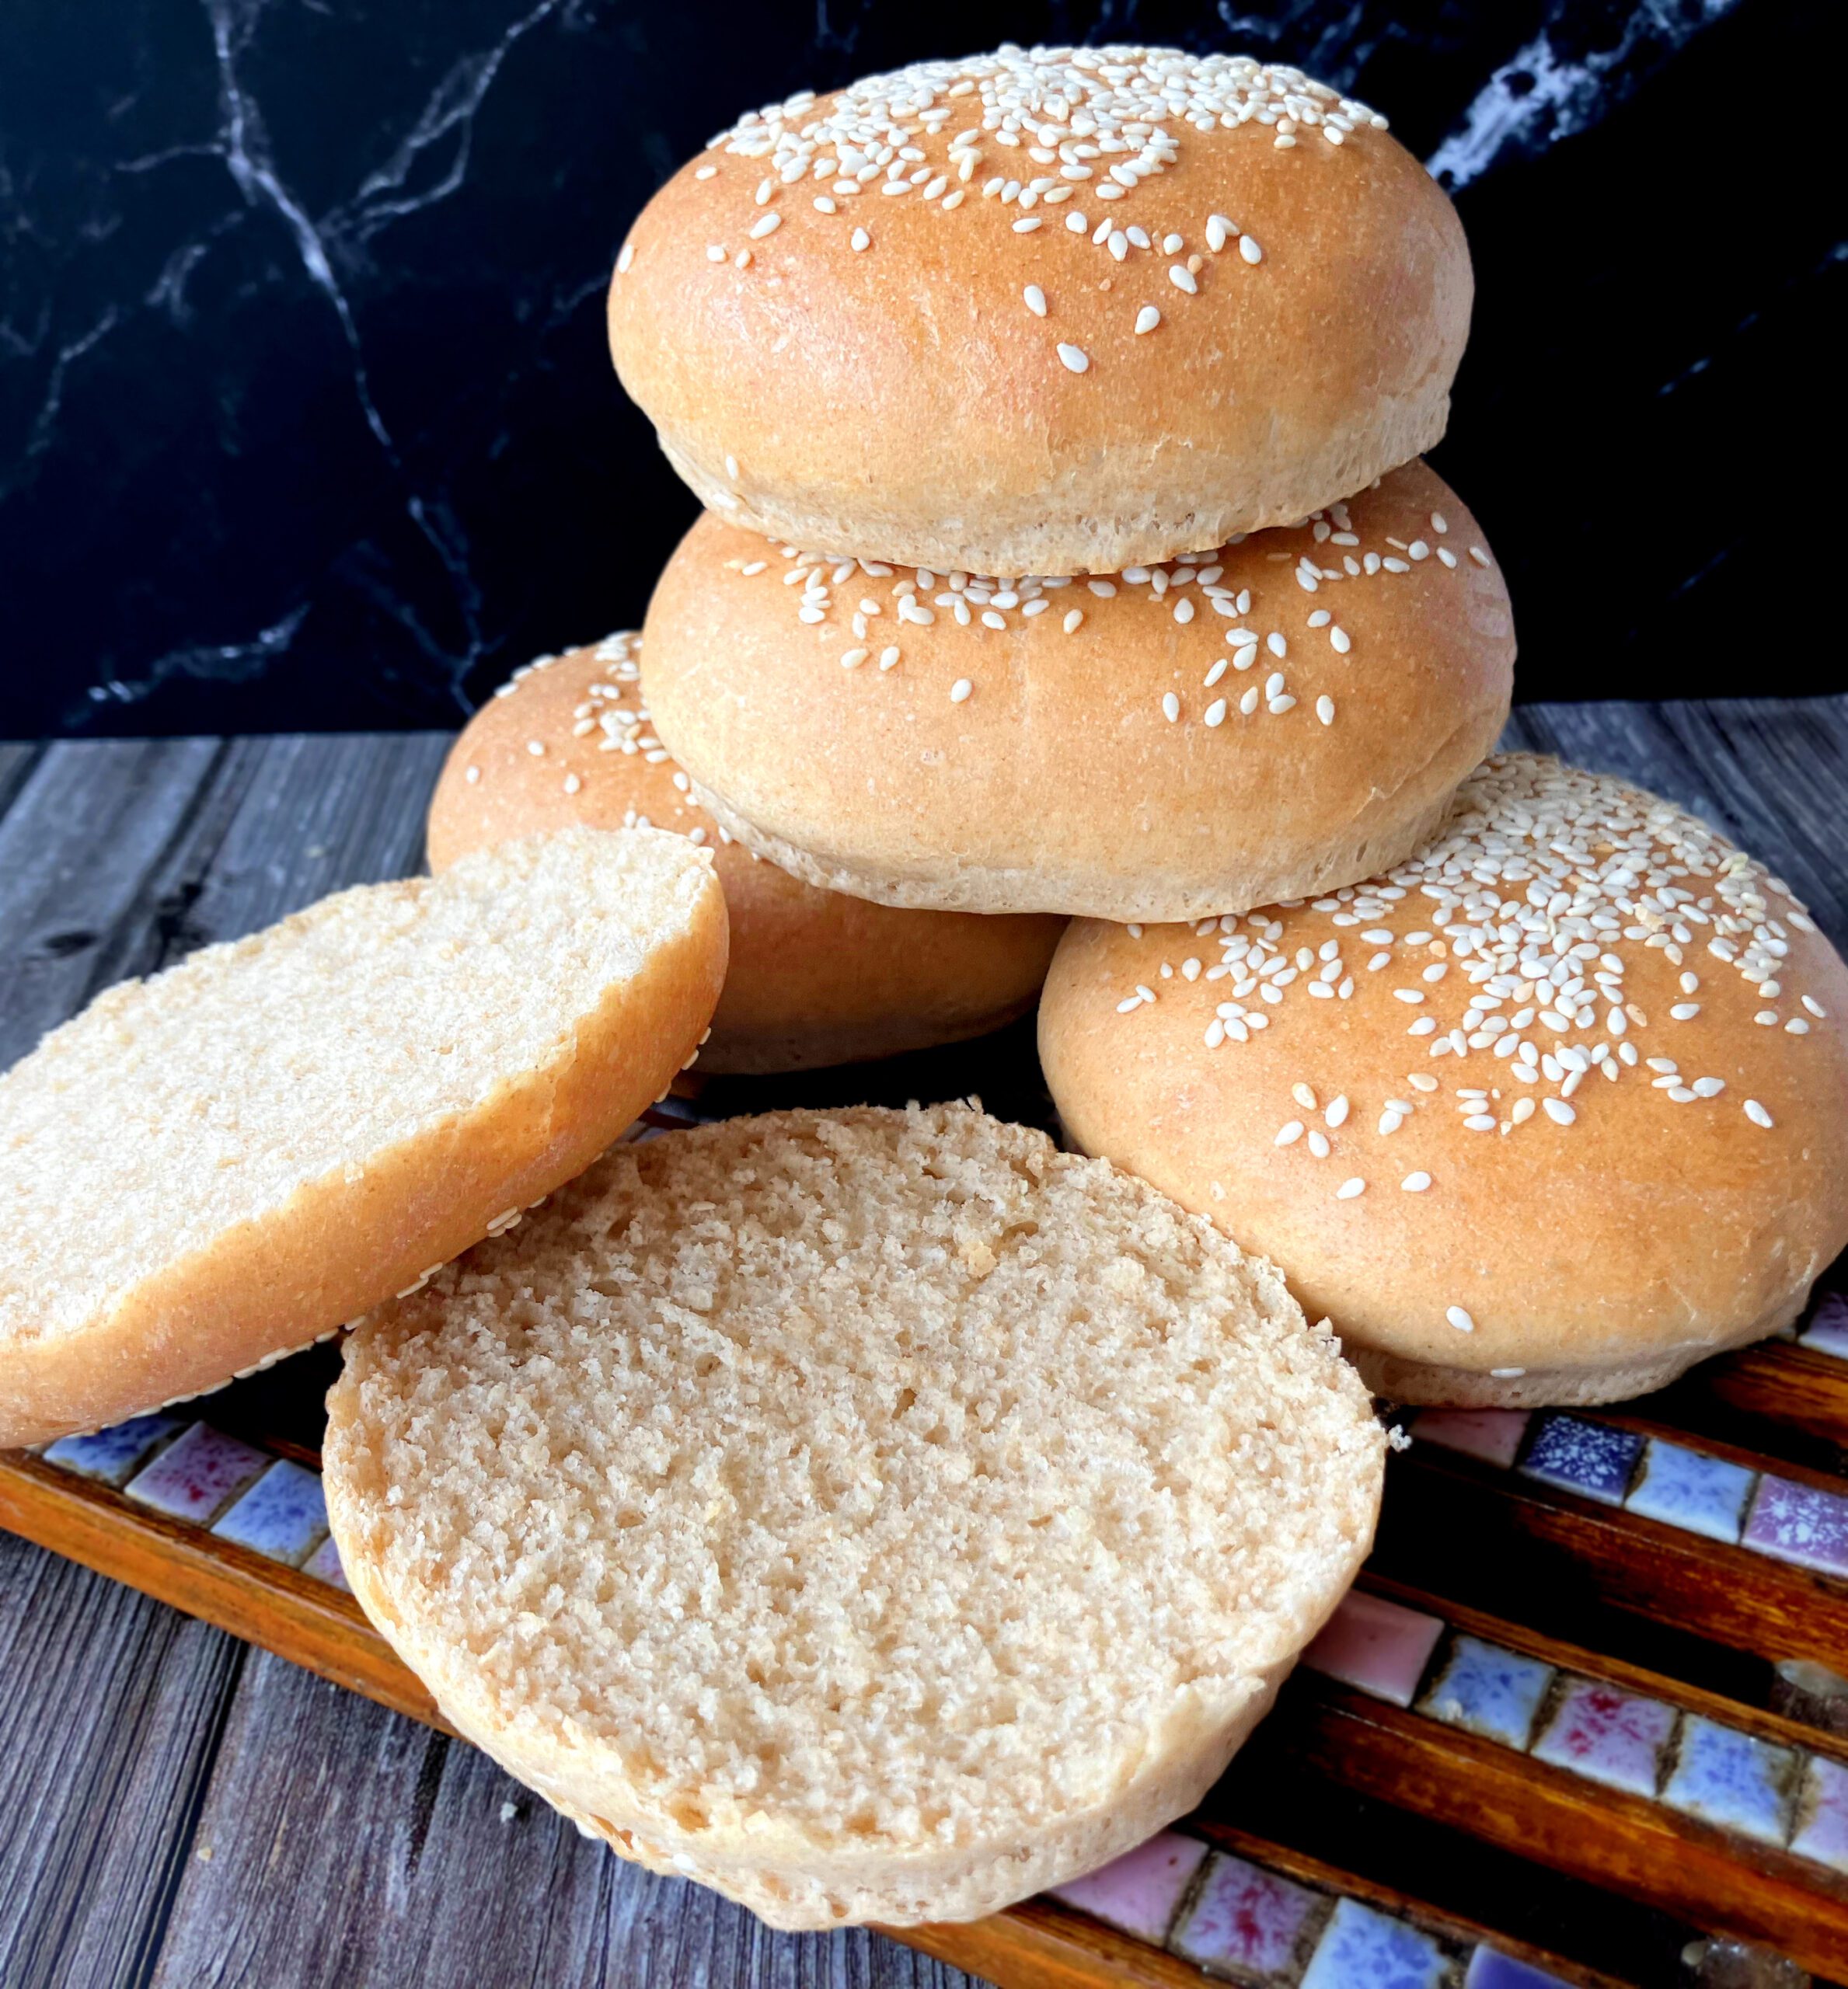
Being mindful of both kneading and rise times really brings out the best in spelt. You’ll get soft, tender spelt burger buns with great structure. Just look at how squidgy they are:
Using cold ingredients to help spelt bread
The two sections above tie in nicely with another important tip for spelt dough: use cold ingredients like milk, eggs and butter. While this goes against the usual baking advice to warm ingredients to encourage fermentation, with spelt flour, cooler ingredients actually help.
Cold ingredients cause the fermentation process to slow down even further. This slower process gives the dough more time to develop strength without the risk of over-proofing or collapsing. It also helps prevent bursting or blow outs in the oven.
So, don’t worry about warming your milk or bringing eggs to room temperature. When working with spelt, particularly in enriched doughs like this one, cold ingredients can improve your results by giving the dough a gentler, steadier rise.
Maple syrup in bread dough
I have used maple syrup as a natural sweetener in this recipe to avoid white sugar. Using maple syrup instead of regular sugar or other sweeteners adds a subtle natural sweetness with a hint of caramel and vanilla notes, which enhances the overall flavour of the buns. Maple syrup also contributes a bit of moisture to the dough, helping keep the buns tender and soft.
Plus, it’s a less processed, more natural sweetener that brings a lovely depth compared to plain white sugar. If you’re after a slightly richer, more complex flavour in your burger buns, maple syrup is a great choice. It pairs perfectly with the earthy richness of the spelt and Graham flours, making the buns taste wholesome but still nicely balanced.
If you don’t have maple syrup on hand, honey or agave syrup can be good alternatives. You could also use regular sugar, but keep in mind that the flavour will be simpler and the texture slightly different. Adjust the liquid in the recipe slightly if needed, since liquid sweeteners add moisture.
Yield and storage
This recipe makes about 10 delicious burger buns. Because spelt buns tend to dry out quite quickly, I usually freeze mine as soon as they have cooled completely. Freezing helps keep them soft and fresh for longer.
To store, place the cooled buns in an airtight container or a freezer bag. When you want to use them, simply defrost in the microwave. This method is quick and helps maintain the buns’ softness without drying them out.

No-knead spelt cheese buns
No-knead Swedish frallor
Spelt subway buns
Wholegrain spelt and oat buns
Spelt hot dog buns
Giant super soft spelt buns
From Scratch: Spelt & Graham Flour Hamburger Buns
Ingredients
- 250ml (1 cup) milk
- 50g (3½ oz) butter (chopped into small pieces)
- 1 egg (medium)
- 1 tbsp maple syrup
- 300g (2½ cups) white spelt flour (see note 1)
- 150g (1 cup + 2tbsp) graham flour (see note 2)
- 7g (2¼ tsp) yeast (see note 3)
- 2 tsp sea salt
- 1 tbsp milk (to "wash" the dough)
- sesame seeds
Instructions
- Add the milk, butter, egg, and maple syrup to a bowl or stand mixer and mix together (see note 4).
- Add the dry ingredients.
- Knead or mix the dough. For more information about how I prepare my dough, read this.
- Pour the dough out onto a well-floured surface (it will be quite tacky to the touch).
- Divide the dough into 10 fairly equal parts.
- Line a large baking tray with baking paper.
- Roll each into a ball (tucking the edges underneath) and place on the tray, leaving space in between.
- Flatten the dough slightly (either with your hands or a small rolling pin).
- Brush with milk, then sprinkle sesame seeds over the top.
- Cover the buns with a tea towel and let them gently proof for about 45–60 minutes. They’re ready when they have almost doubled in size. Half way through, preheat the oven to 175℃ (350℉).
- Bake in the lower part of the oven for around 20–23 minutes. They should be golden brown and sound hollow when you tap the bottom.
- Allow to cool completely. Freeze any buns not eaten immediately. Enjoy!
Notes