
How to Make Spelt Cheese Scones
“I never baked with spelt, these spelt cheese scones were delicious and easy tot prepare. Thank you very much!”
★★★★★
This recipe for spelt cheese scones is so quick and easy to make. You can make them, bake them, and eat them all within 30 minutes. Delicious savoury snacks made with either regular or spelt flour.
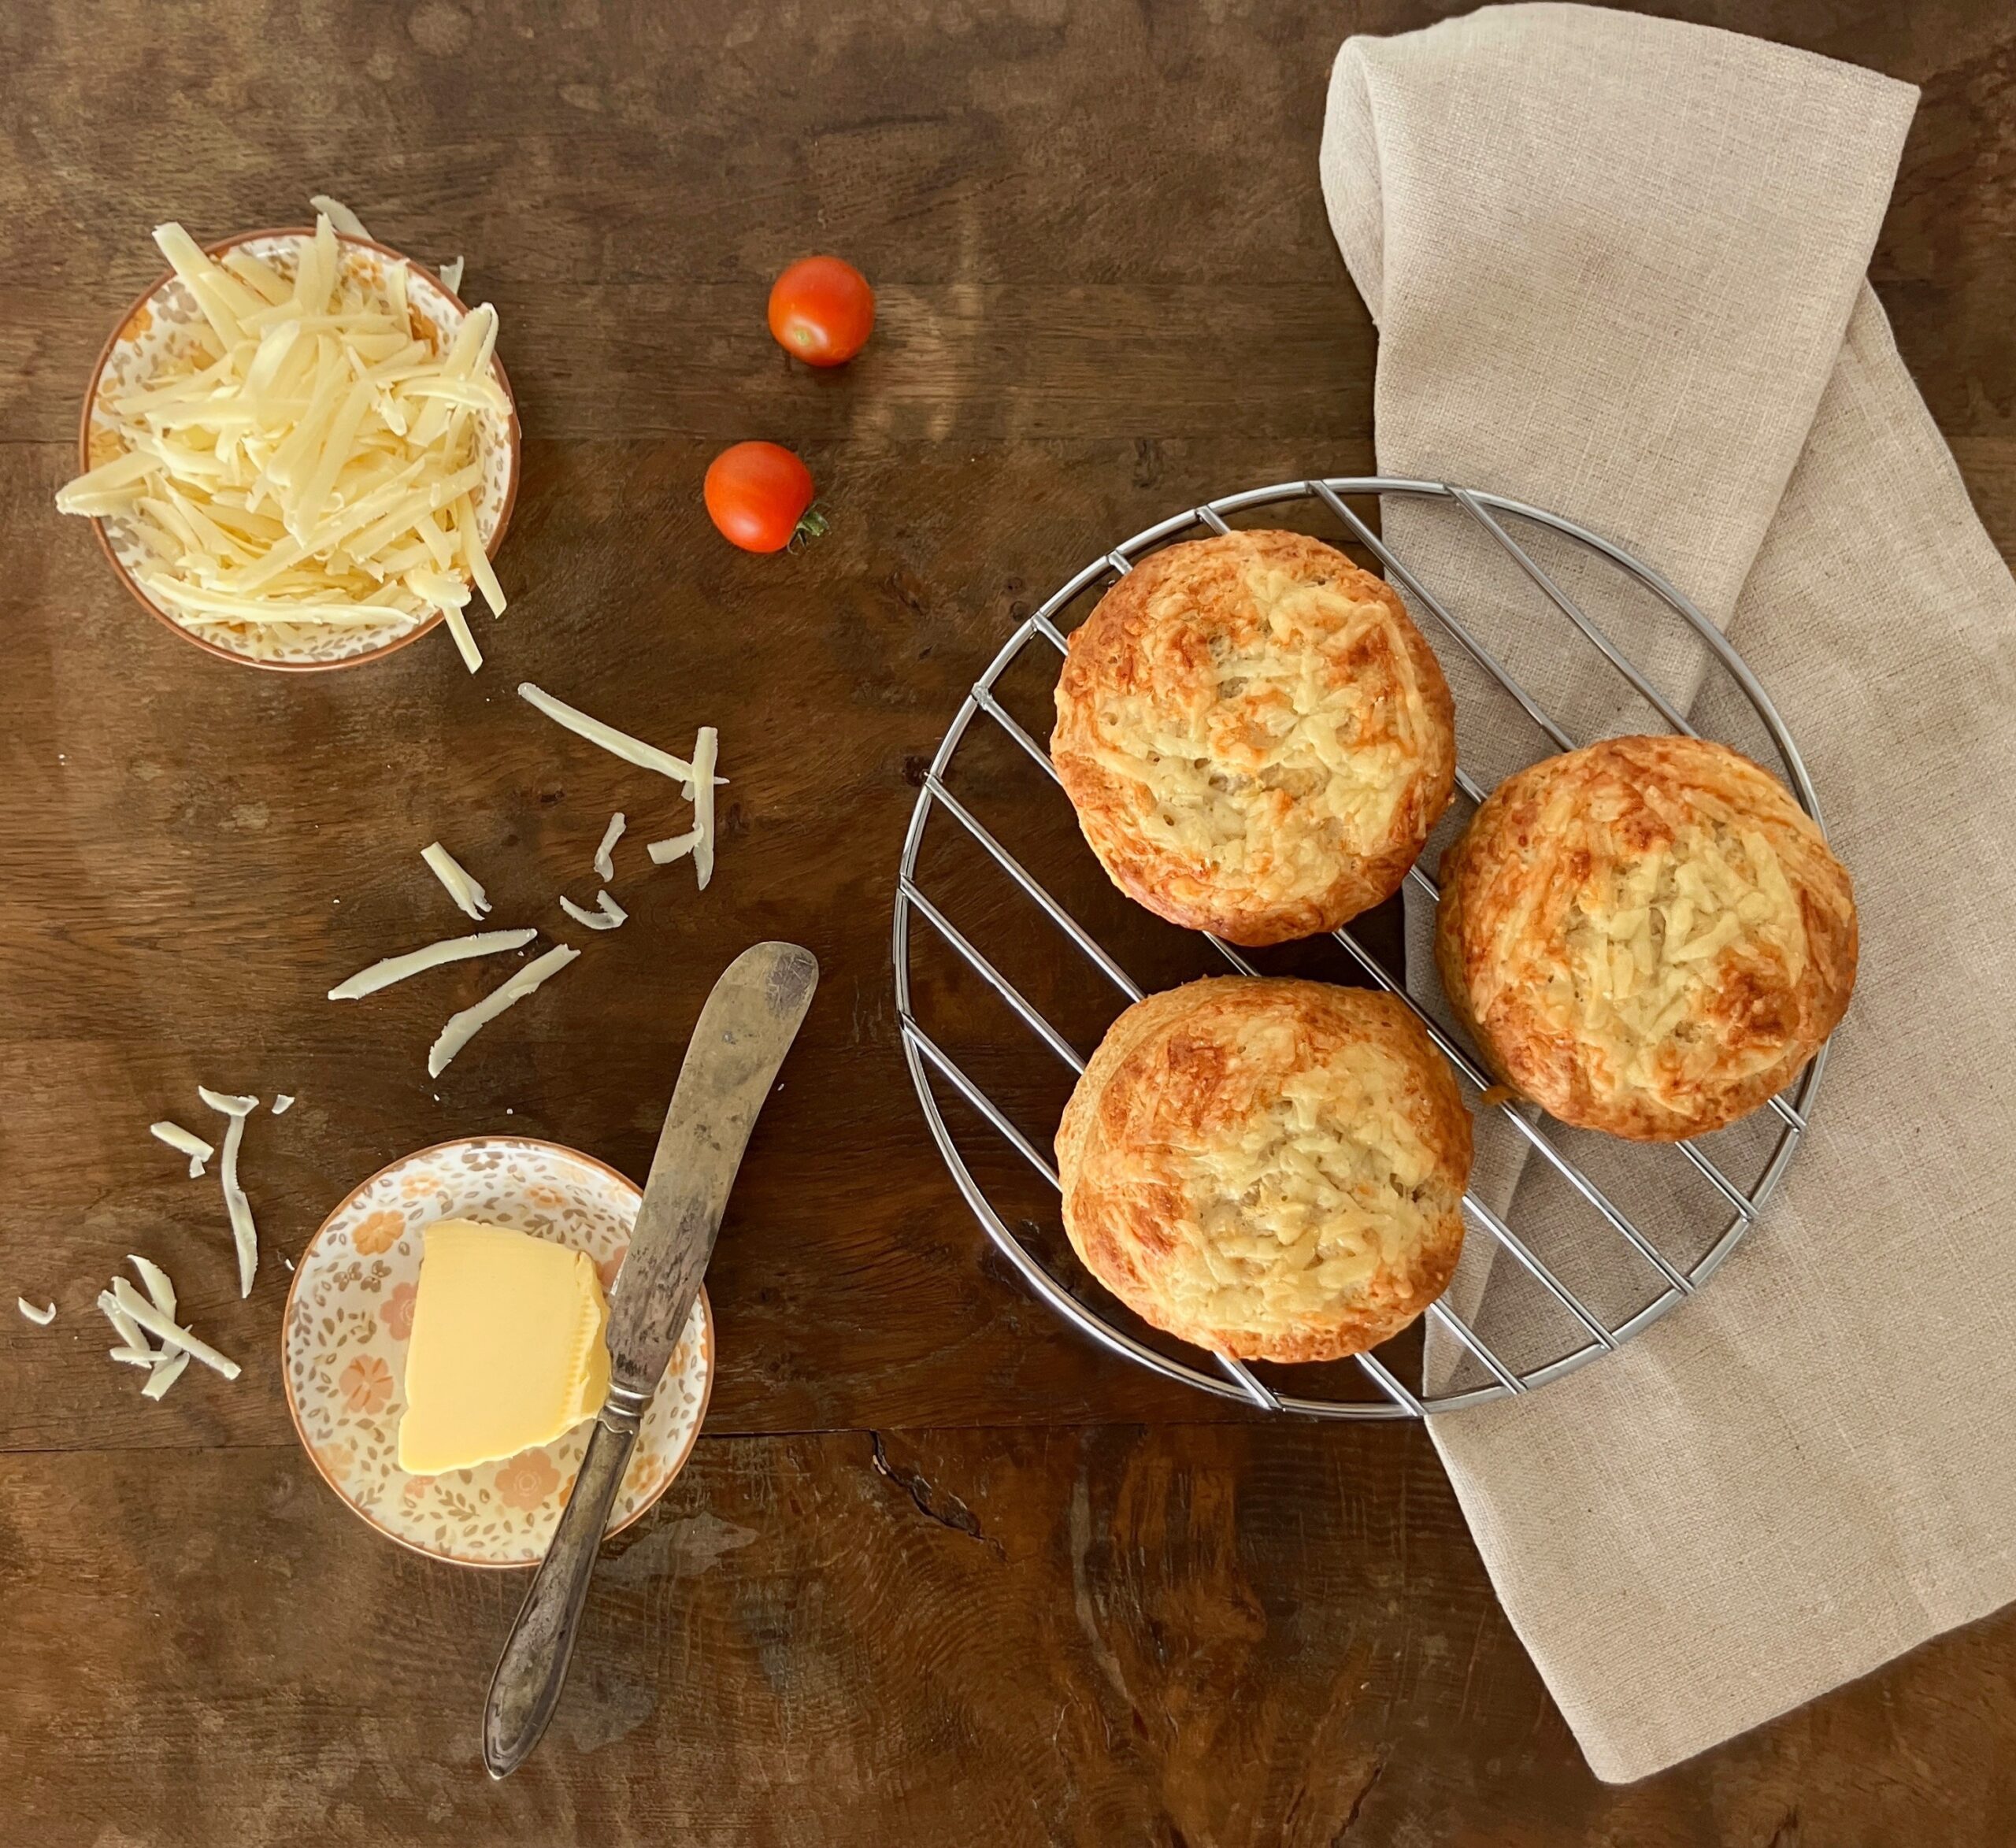

My spelt cheese scones
My spelt flour cheese scones follows a traditional recipe that is tried and tested. Fluffy, light scones packed with strong cheddar, butter and a sprinkling of cayenne pepper that complements the cheese beautifully.
This recipe makes about 5–6 large scones when using an 8 cm (3¼”) cutter, perfect if you like bakery-style scones with a good rise and a fluffy centre. If you prefer smaller ones, simply use a smaller cutter to get a few extra from the batch.
Where do scones originate from?
Scones form a beloved British staple, and most people know afternoon tea, where people serve them with jam and a generous dollop of clotted cream. But scones don’t have to be sweet. Savoury versions, like cheese scones, hold just as much tradition and appeal. So, who actually invented scones?
Like many traditional British foods, their exact origin remains a little hazy. Scottish poet Gavin Douglas first mentioned scones in the early 16th century. At that time, they looked quite different from the light, fluffy scones we enjoy today. People made them with oats, cooked them on a griddle, and cut them into wedges.
Over the centuries, bakers developed scones into a lighter, more delicate treat with the introduction of baking powder in the 19th century. Scones gained popularity rapidly during the Victorian era, particularly after Queen Victoria included them in afternoon tea. In Devon and Cornwall, people continue the cream tea tradition of pairing scones with jam and clotted cream, preserving a ritual that generations have enjoyed.
Scones around the world
Scones can be a little different, depending on where you are eating them.
American scones tend to be richer and sweeter than their British counterparts, with more butter, cream, or eggs, giving them a denser, more cake-like texture. They are often baked in a single round or square pan and then cut into triangles, or individually shaped. Unlike British scones, the flavourings are usually folded into the dough. Think chocolate chips, berries, or nuts. It’s also common for them to be glazed or iced, and they’re more of a coffee-shop treat than a teatime staple.
In Australia and New Zealand, scones look and taste much closer to the British version. They’re light, soft, and traditionally served with jam and cream, particularly as part of a classic “Devonshire tea.” Pumpkin scones are a popular twist in Australia, made famous by Flo Bjelke-Petersen, a former senator known for her baking. Cheese scones are also common, often served warm with butter.
Elsewhere in the world, scones have taken on a variety of local twists. In Canada, they can resemble either the American or British version depending on the region, though sweeter, bakery-style scones are most common. In Ireland, soda scones, which are a variation of soda bread, are popular. They are often cooked on a griddle and with a slightly denser texture. Meanwhile, in parts of Asia, scones have become trendy café treats, typically served with whipped cream or butter and sometimes given unique local flavours, such as matcha, yuzu, or black sesame.
What is clotted cream?
No post about scones feels complete without mentioning clotted cream. People consider it an essential part of a traditional Cornish cream tea. True clotted cream comes from Cornwall, in the southwest of England, and ties closely to the region’s dairy heritage.
So, what exactly is it? Clotted cream is a very thick, silky cream with a pale yellow colour and a subtly sweet, nutty flavour. Cheesemakers create it by heating full-fat, unpasteurised cow’s milk slowly, often in a shallow pan, and then letting it cool. As the milk cools, clumps (or “clots”) of cream rise to the surface, which the makers skim off. The result is a luxuriously rich spread that contains about 55–60% fat, much thicker than typical whipped cream.
People outside the UK may find clotted cream tricky to source. In the United States, for example, laws prevent sellers from offering true clotted cream because it contains unpasteurised milk. Some imitation versions use pasteurised cream, but purists insist that nothing beats the authentic Cornish version. Perhaps that’s the perfect excuse to plan a visit to Cornwall, sit down for a proper cream tea, and taste it straight from the source.
Cheese Scones
Cheese scones may not have the fame or ceremony of their sweet counterparts, but they are just as delightful, and often much quicker to make. With only a handful of cupboard staples, you can whip up a batch in no time, making them perfect for breakfast, a snack, or alongside a bowl of soup. They are savoury, satisfying, and wonderfully adaptable.
The type of cheese you choose really shapes the flavour. Traditionally, a strong cheddar is used, giving the scones a rich, savoury depth that pairs beautifully with butter or a light spread of mustard. A milder cheese will still work, but using a strong, mature cheddar will give you that classic punch of taste.
One of the great things about cheese scones is their versatility. You can experiment with different cheeses. Think Gruyère for a nutty note, or even a little blue cheese for something bold. For an extra touch, try sprinkling Parmesan or extra cheddar over the tops before baking; this adds a golden, crispy crust and a little extra flavour. You can also add herbs like chives, thyme, or rosemary to elevate them further.
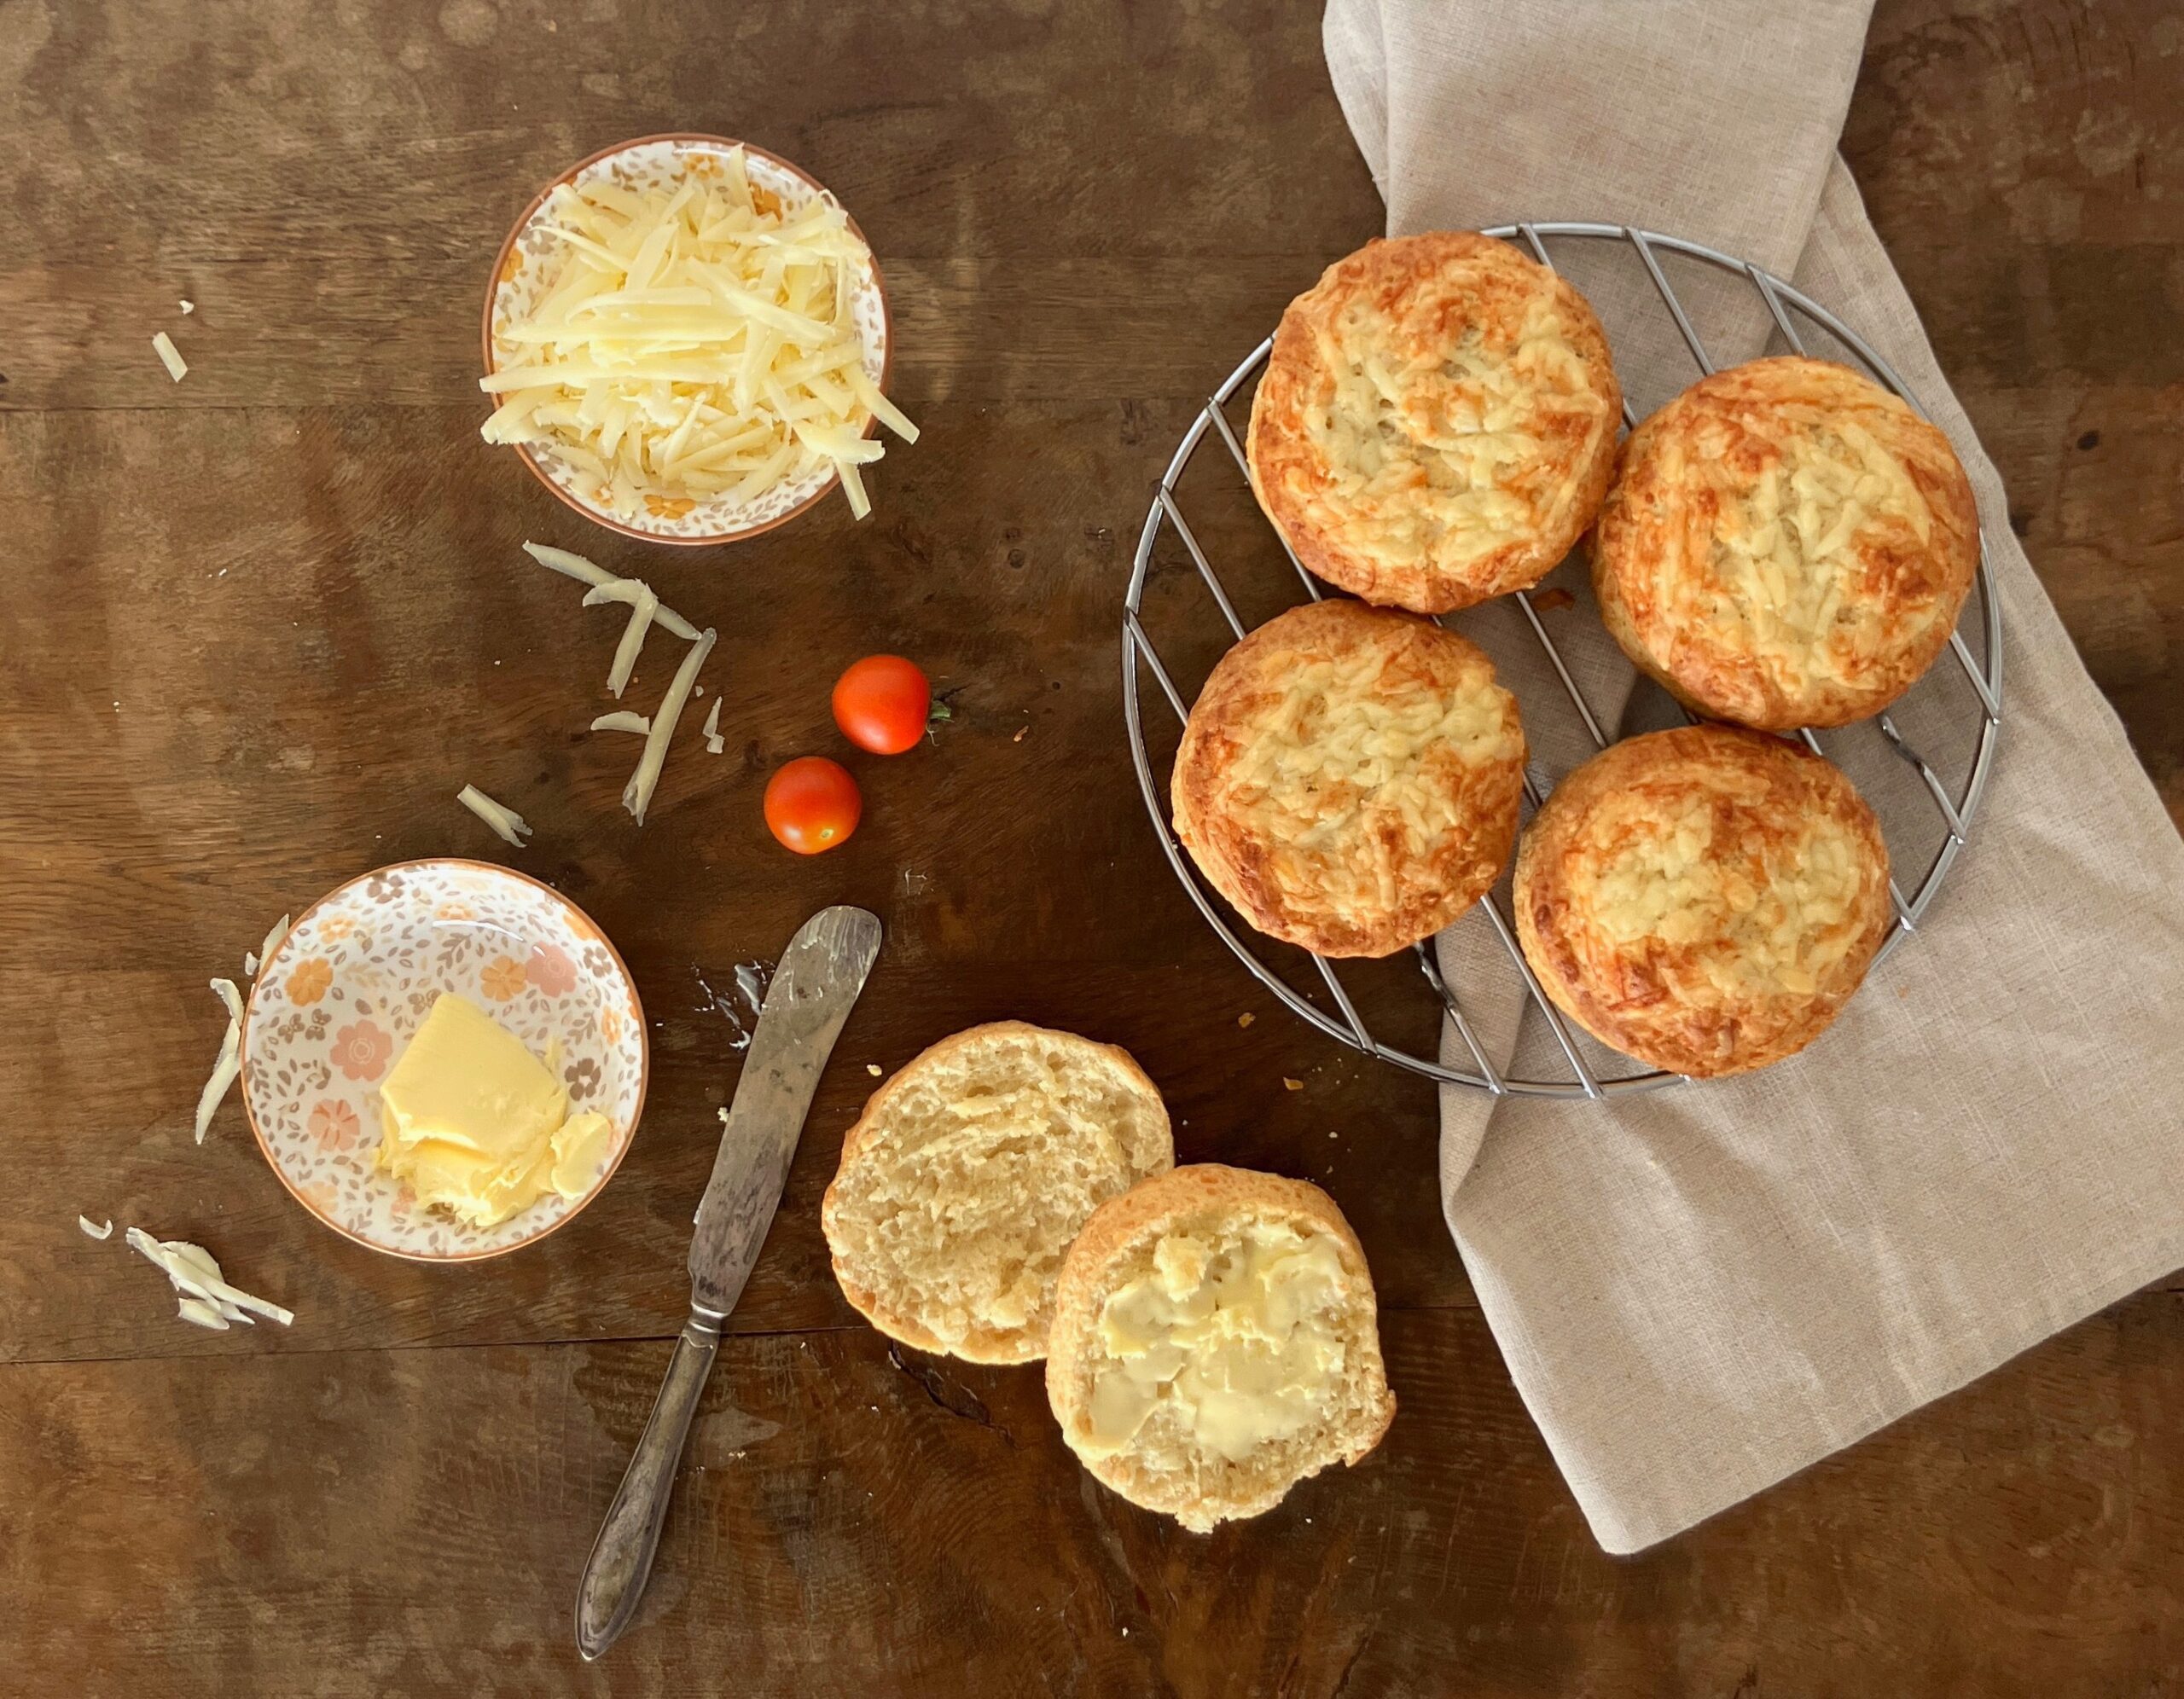
What can you serve with cheese scones?
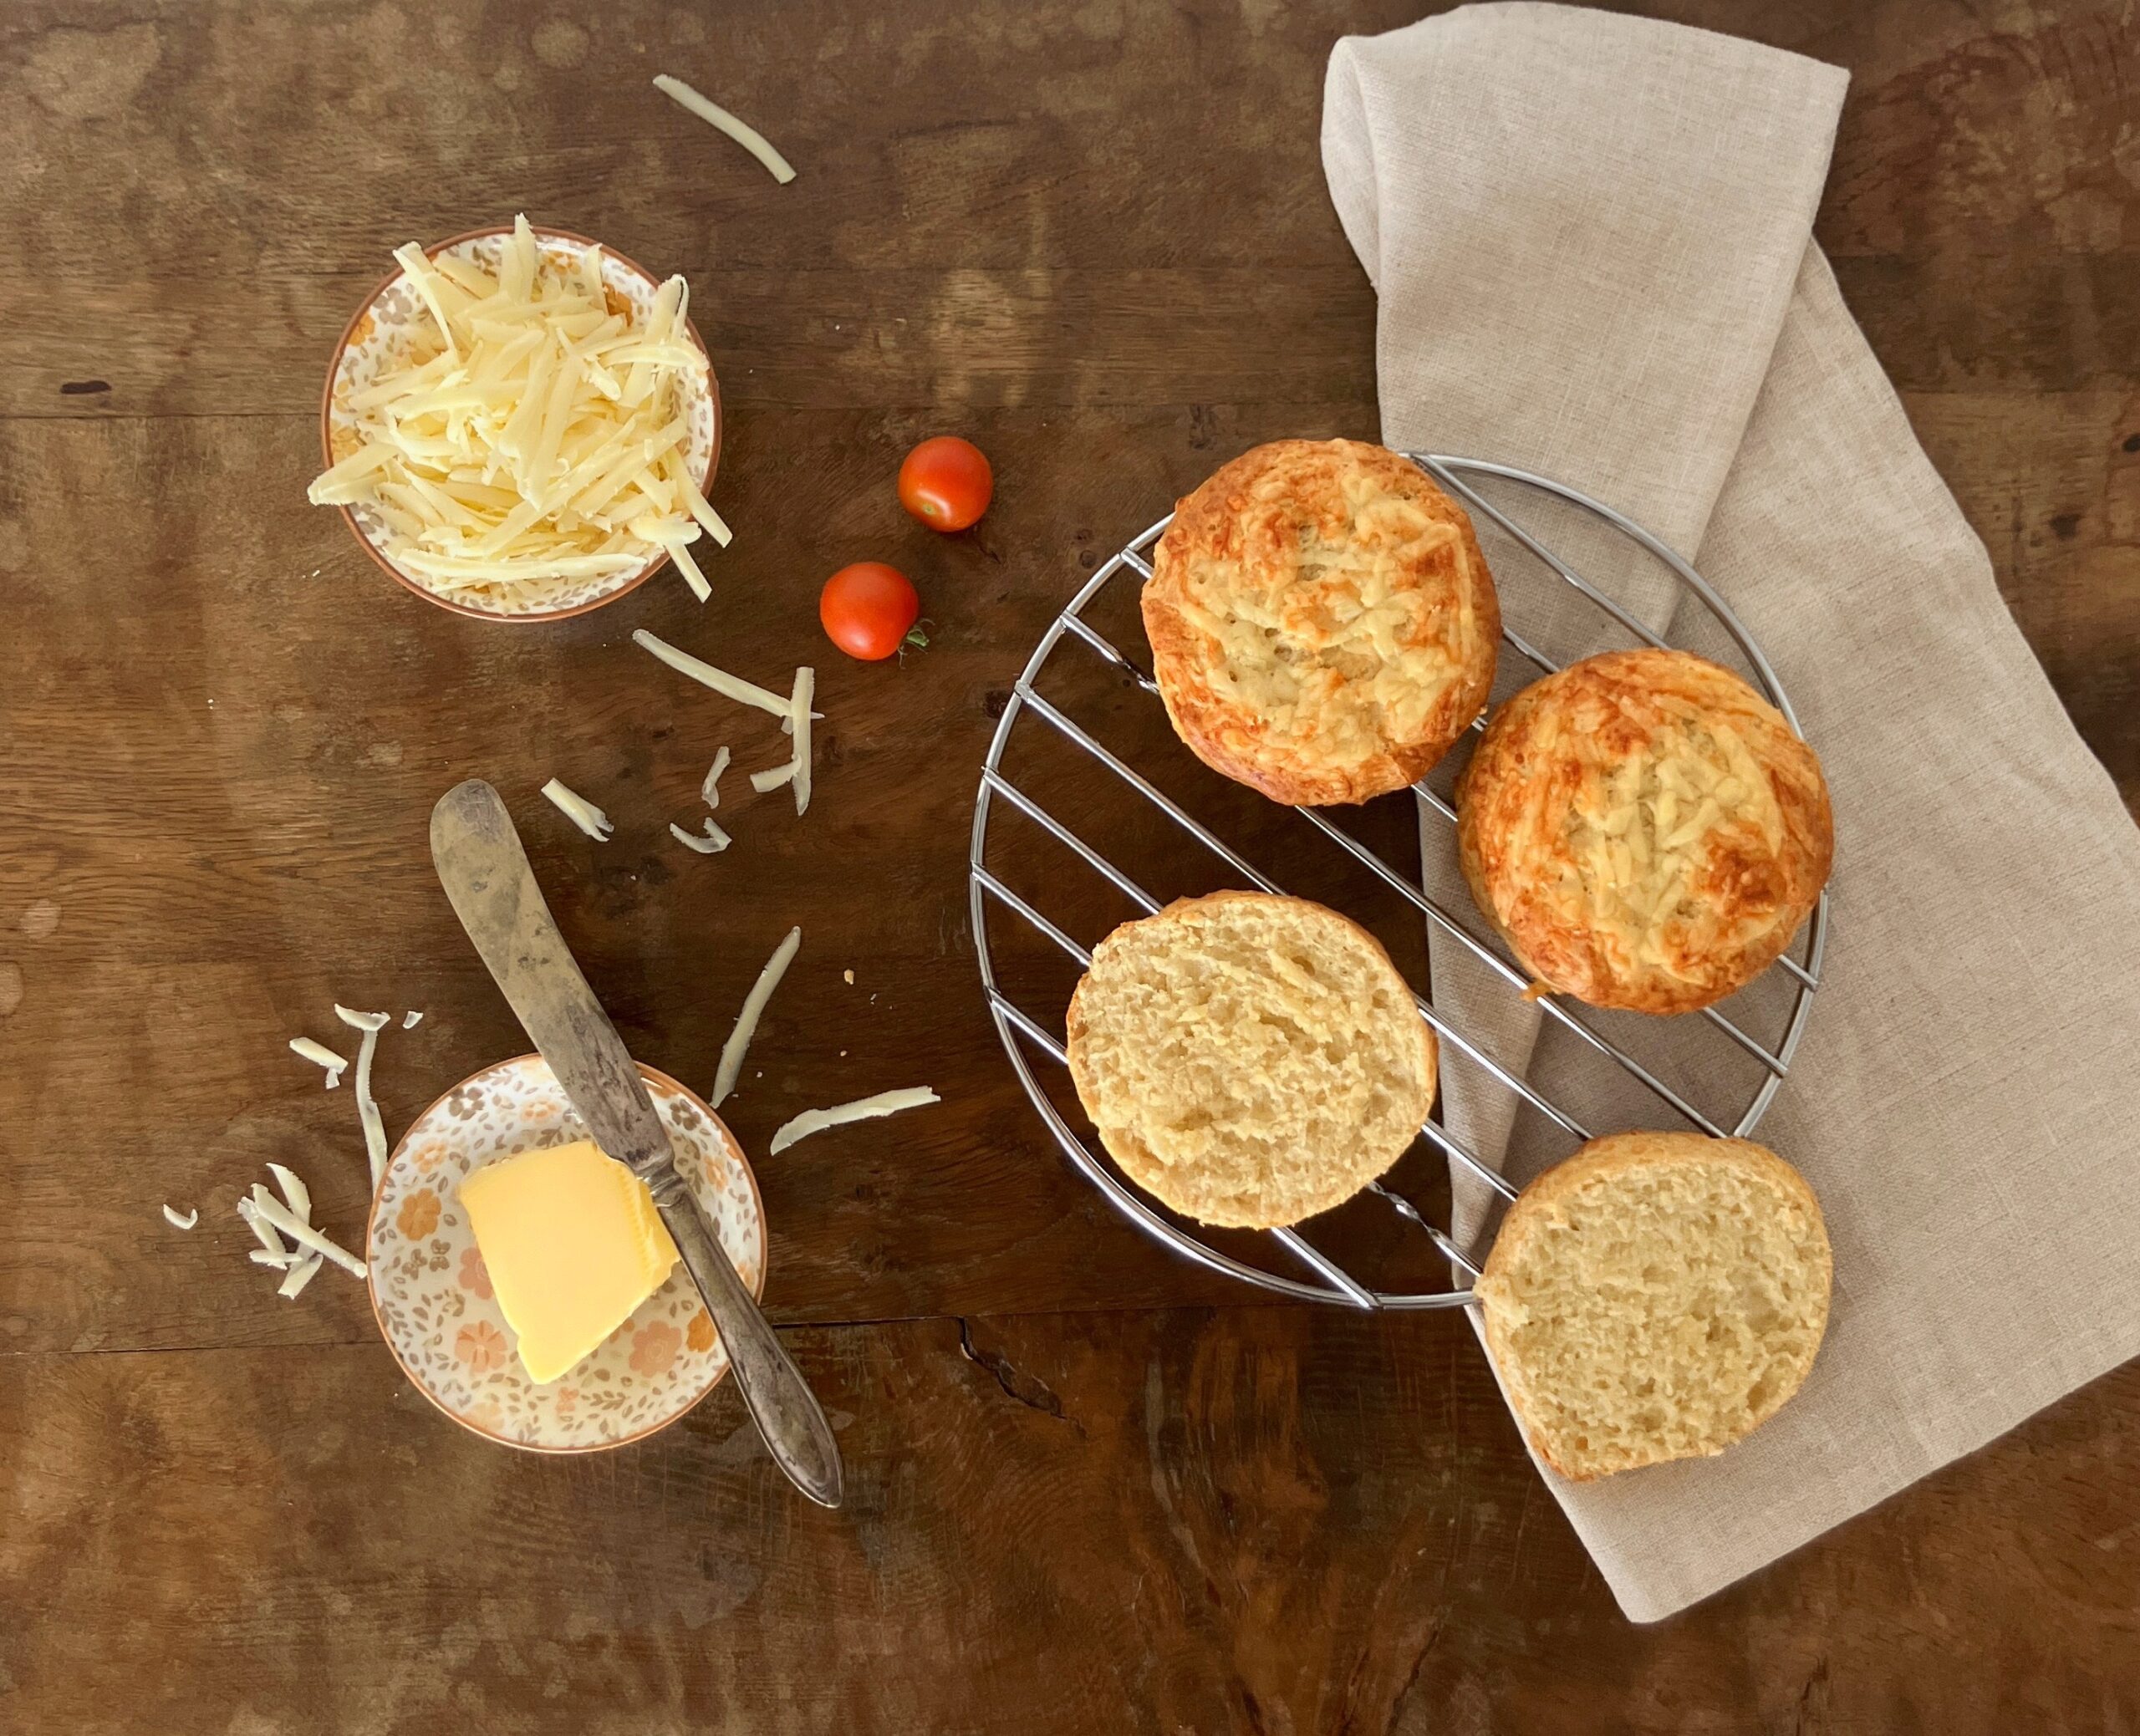
Cheese scones can be eaten on their own, but there are plenty of ways to serve them depending on the occasion. A thick layer of butter on still-warm-from-the-oven scones is the simplest (and let’s be honest, most delicious) option. For a more traditional British touch, a spoonful of ploughman’s pickle or chutney adds a tangy contrast to the sharpness of the cheese.
You can also serve them with slices of ham or cold cuts, a handful of crisp salad leaves, or a little cream cheese for variety. Warmed slightly, they make a convenient addition to a picnic or light lunch, and cooled, they can be packed easily for snacks on the go. Cheese scones also pair well with soups or stews, making them a handy accompaniment for a simple meal.
They’re versatile enough to be part of breakfast, brunch, lunch, or afternoon tea, and their slightly dense texture means they hold up well whether eaten immediately or stored for later.
The secret to perfect scones
So, is there really a secret to making great scones? Well, yes, there are some things you can do to help ensure you make gorgeous scones. However, there aren’t any secrets. The truth is, scones are easy to make. Relying on cupboard staples, it doesn’t take much time to whip them up, as you really just throw everything together. There are certainly no laborious, complicated procedures involved. If you follow these tips, you will end up with light, fluffy spelt cheese scones:
- Always use cold ingredients:
The butter, the milk and the cheese must come straight from the fridge. In fact, the butter could even be frozen. Using cold ingredients ensures that your scones rise beautifully, and if you really want to make totally sure this happens, pop your bowl and utensils in the fridge, too. If you are making scones in a warm place (in the summer, for example), you might need to pop the scones in the fridge for 30 minutes before baking.
- Don’t overwork:
Making scones is not a lengthy process. Traditionally, scones were made by rubbing in the butter. I hate the feeling of my hands being dirty, so always use my food processor. Because we want to keep the cold ingredients as cool as possible, using your hands might warm them up too much. Therefore, a food processor seems a sensible option. However, the downside of using a food processor could be the tendency to overwork the dough. It’s ready to add liquid when it looks like large breadcrumbs.
- Liquid:
Add your liquid a little at a time. Too much liquid will make the dough soggy; too little will produce dry scones. Again, don’t overwork: it’s ready once the dough has just pulled together. Your dough should be a little sticky to the touch. This recipe has been devised for spelt flour, so if you use anything else, the amount of liquid you need may vary.
Other things to consider when making scones
As well as the above tips, there are a few other factors to consider to achieve a fluffy, light scone:
- Raising agents
In most traditional scone recipes, self-raising flour is used (this is a flour blend that includes baking powder and sometimes, baking soda). Additionally, most recipes call for extra baking powder. In some cases, baking soda is also added (especially when using acidic ingredients such as Greek yoghurt, lemon or buttermilk).
The more baking powder you use, the pouffier the scones. However, it is possible to add too much baking powder to scones. An overuse of baking powder could leave your scones tasting a little bitter. So, be generous with it, but not over the top.
- Rolling out/patting
Although you can roll out the dough, it is better to simply pat it into shape. Do not knead. The temptation if rolling out is to yet again, overwork the dough. Too much handling will make your scones denser and not as fluffy. Another disadvantage of rolling out your scones is that you could make the dough too thin. The end result would be, well, think hockey puck. Patting involves, as the name suggests, gently patting the dough down into the required thickness, and gently pushing into shape.
Scones should be around 2cm thick before going in the oven. You will not get all of your batch of scones from the first roll out, as you will need to repeat the process for a second, or even third time. Just remember to handle the dough as little as possible.
- Don’t over-bake
Scones need a hot oven and short baking time. Keeping scones in the oven too long will result in dry scones. The texture should be fluffy and light.
If you follow my tips on making great scones, you will end up beautifully golden spelt cheese scones that really are cheesy, savoury bites of deliciousness. Remember, homemade scones are supposed to be rustic-looking, especially if you’ve patted the dough, rather than rolling it. The shape doesn’t matter too much (and will rise in different directions anyway), so just try to aim for the same thickness to ensure that they bake evenly.
How using spelt flour can affect making scones
Not all scones are created equal, and even if you follow a recipe precisely, results can vary slightly, and that’s perfectly normal. One factor that can make a noticeable difference is the type of flour you use.
Spelt flour behaves differently from standard wheat flour. It has a slightly lower gluten content, which means dough made with spelt can be more delicate and prone to spreading if overworked.
When making scones with spelt flour, you may need to adjust the liquid slightly. Start with the lower end of the suggested amount and add more only if the dough feels too dry. Spelt also absorbs liquid more slowly, so allowing the dough to rest briefly before cutting or shaping can help it hold together better.
That said, I’ve already done the hard work for you: I tested and adapted this recipe specifically for spelt flour, so you don’t need to worry about precise adjustments. Just follow the instructions, handle the dough gently, and you’ll get soft, flavourful cheese scones every time.
Using spelt flour adds extra nutritional value and a subtle, wholesome flavour without changing the classic characteristics of a good cheese scone.
Can I freeze spelt cheese scones?
I am the only person who likes cheese scones in my house, so I can’t eat them all in one go. Well, I probably could, if I wanted to. Perhaps that’s an idea for a new Guinness World Record? So, yes, I freeze the rest of them.
They taste just as good as the minute they popped out of the oven, all warm and delicious. Actually, they taste even better. I have eaten my latest batch, one by one, every weekend morning as a quick savoury snack. I pop them into the microwave then eat them with a slathering of butter. I’m down to just two left, so need to make some more.


Spelt Cheese Scones (and the secret to making great scones)
Ingredients
- 225g (8 oz) spelt flour (see note 1)
- ¼ teaspoon salt
- ¼ teaspoon cayenne pepper
- 2 teaspoons baking powder
- ½ teaspoon bicarb (baking soda)
- 55g (2 oz) chilled butter (cut into small chunks)
- 120g (4¼ oz) grated strong cheese (I used cheddar)
- 90-120ml (6-8 tbs) milk (plus a little extra for brushing over the scones)
Instructions
- Heat the oven to 200℃ (400℉). Line a large baking tray with baking paper.
- Sift the flour, salt, cayenne pepper, baking powder and baking soda into a bowl.
- Add the butter to dry ingredients, and either rub in with your fingertips or use a food processor. Do this just until you have fairly fine "breadcrumbs".
- Sprinkle 100g (2½oz) of the cheese into the breadcrumb mixture.
- If using a food processor, a few spins will be all you need just to incorporate the cheese. If making the scones by hand, use your fingers (or even a whisk) to quickly mix in the cheese.
- Make a slight indentation (well) in the ingredients, and pour in around 90ml (6 tablespoons). Using your fingers or your food processor, work the ingredients until they start to pull together as a dough. Add more liquid if needed, but do so gradually. You want a slightly sticky (but not wet) dough.
- Flour a surface and pour out the dough. Roll or pat it into shape, remembering not to overwork it.
- Using a fairly large cutter - mine was fairly large 8cm (3¼") gently press straight down into the dough (don't wiggle or twist the cutter).
- Place on the prepared baking tray and brush over a little milk. Top with the remaining cheese.
- Bake in the oven for around 15 minutes, just until they are golden brown. Keep an eye on them, and start checking them at the 10 minute mark. Serve warm, with lashings of butter. Enjoy!
Notes
- You can use regular flour instead of spelt. I often interchange spelt and regular flour (and have never had any issues at all), but for the sake of transparency, I have not made this recipe with anything other than spelt flour. Please note: the amount of liquid may need to be adjusted if you are using different flours.

6 thoughts on “How to Make Spelt Cheese Scones”
Leave a Reply

Hello,
I never baked with spelt, these spelt cheese scones were delicious and easy tot prepare. Thank you very much!
Thank you so much much for letting me know, Yvonne! So happy they turned out well!
Absolutely delicious and easy to make via the food processor
Wonderful to hear, Brenda! Thanks so much for letting me know you enjoyed them!